Introduction About Restore Your Old Walls
Isn’t it fascinating how the walls of our homes hold stories from the past? Restoring old walls is more than just a home improvement task; it’s about preserving history and rejuvenating the charm of your living space. Whether you’re dealing with an old family home or a vintage apartment, restoring your walls can bring back the beauty and integrity of your property.
Assessing the Condition of Your Walls
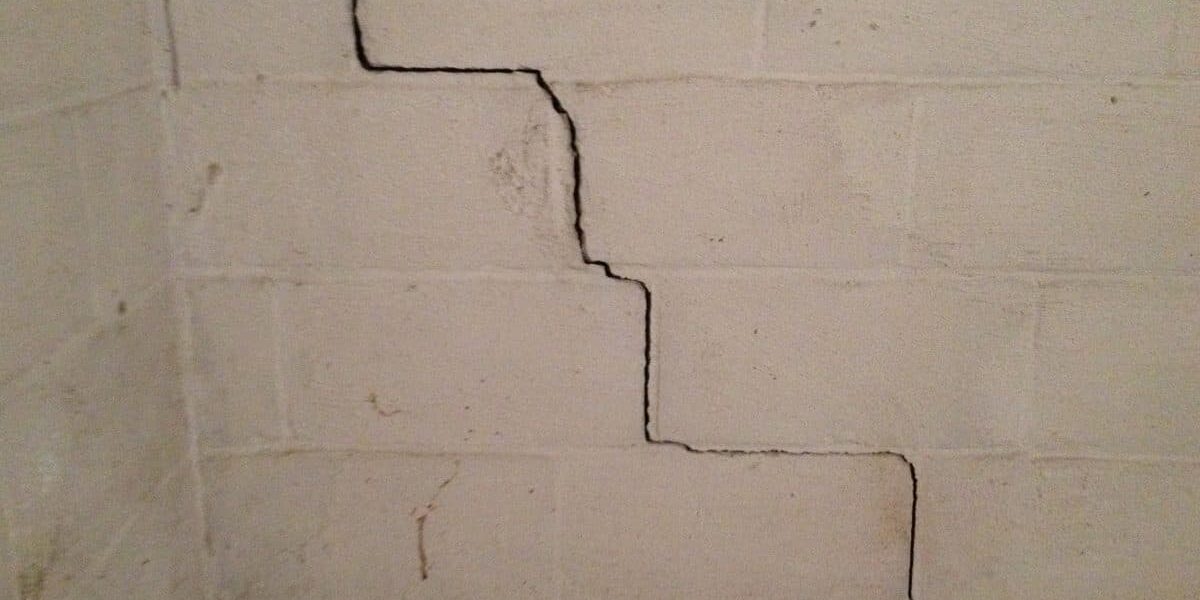
Before diving into restoration, it’s crucial to understand the current state of your walls. Look for common issues like cracks, water damage, mold, and peeling paint. Determining the extent of the damage will help you decide on the best restoration approach.
Preparing for Restoration
Preparation is key to a successful wall restoration. Gather all necessary tools and materials, such as sandpaper, plaster, primer, paint, brushes, and safety gear. Don’t forget to take safety precautions, including wearing protective clothing and ensuring proper ventilation in your workspace.
Cleaning the Walls
Start with a clean slate. The method you use to clean your walls will depend on the material. For painted walls, a gentle mix of water and mild detergent usually does the trick. Mold and mildew require a stronger solution, such as a mixture of bleach and water. Always make sure the walls are completely dry before moving on to the next step.
Repairing Cracks and Holes
Wall damage can range from tiny hairline cracks to significant holes. For minor cracks, use a pre-mixed filler or patching compound. Larger cracks and holes may require mesh patches or new plaster. Be sure to smooth out the surface once the filler or plaster has dried.
Dealing with Water Damage
Water damage can be particularly challenging. First, identify and fix the source of the water problem. Once that’s done, remove any damaged material, dry the area thoroughly, and apply a stain-blocking primer before repainting.
Removing Old Paint and Wallpaper
Stripping old paint or wallpaper can be labor-intensive but is often necessary. Use a paint stripper or a heat gun for paint removal. For wallpaper, consider using a steamer or a wallpaper removal solution. Patience is key here—rushing can cause further damage to the walls.
Priming the Walls
Priming is an essential step that shouldn’t be skipped. A good primer helps paint adhere better and ensures a smoother finish. Choose a primer that’s appropriate for the type of wall and paint you plan to use.
Painting Your Walls
Now for the fun part—painting! Select a high-quality paint that suits your style and the room’s purpose. Use a brush for edges and a roller for larger areas. Applying two coats usually provides the best result, allowing ample drying time between coats.
Restoring Brick and Stone Walls
Brick and stone walls add a unique charm but require specific restoration techniques. Clean bricks with a mixture of water and mild detergent. For repairs, use a matching mortar mix. Stone walls might need professional attention for significant repairs, but minor issues can often be handled with a DIY approach.
Restoring Plaster Walls
Plaster walls are common in older homes. Identify any loose or damaged plaster, then apply a bonding agent and new plaster to restore the wall. Sand the surface smooth once it’s dry, and it’ll be ready for priming and painting.
Refinishing Wooden Walls
Wooden walls require special care. Clean them with a wood cleaner, and repair any damage with wood filler. Sand the surface smooth before applying a stain or sealant. This process not only restores the beauty of the wood but also protects it from future damage.
Maintaining Restored Walls
To keep your restored walls looking great, regular maintenance is crucial. Dust and clean your walls regularly, inspect them for signs of damage, and address issues promptly. This proactive approach will help you avoid more extensive repairs down the line.
Eco-Friendly Wall Restoration
Consider eco-friendly options for your restoration project. Use sustainable materials like low-VOC paints and natural cleaners. Eco-friendly practices not only benefit the environment but also create a healthier living space.
Conclusion Restore Your Old Walls
Restoring your old walls can be a rewarding project that breathes new life into your home. With careful assessment, preparation, and the right techniques, you can transform your walls from worn and damaged to fresh and beautiful. So, roll up your sleeves, gather your tools, and get started on your wall restoration journey today!
FAQs About Restore Your Old Walls
How long does wall restoration take?
The duration of wall restoration varies depending on the extent of the damage and the techniques used. Small repairs might take a few hours, while extensive restoration could take several days or even weeks.
Can I restore walls myself, or should I hire a professional?
It depends on the complexity of the restoration. Minor repairs can often be done by a DIY enthusiast, but significant damage or specialized walls (like plaster or stone) might require professional help.
What are the costs involved in wall restoration?
Costs can vary widely. Simple repairs and painting might be quite affordable, while extensive restoration, especially for older or specialized walls, can be more costly. It’s best to get a few quotes if hiring professionals.
How can I prevent my walls from getting damaged again?
Regular maintenance, prompt repairs, and addressing moisture issues are key to preventing future wall damage. Keep an eye out for signs of wear and tear and act quickly when problems arise.
Are there eco-friendly options for wall restoration?
Yes, there are many eco-friendly options available, including low-VOC paints, natural cleaners, and sustainable materials. These choices are better for the environment and can create a healthier living space.


